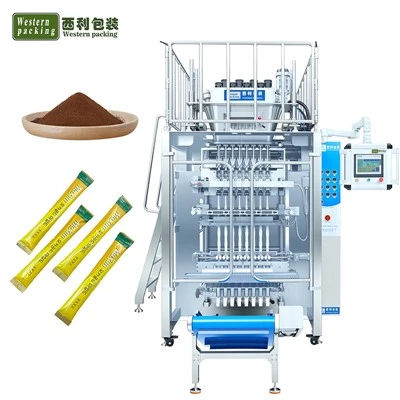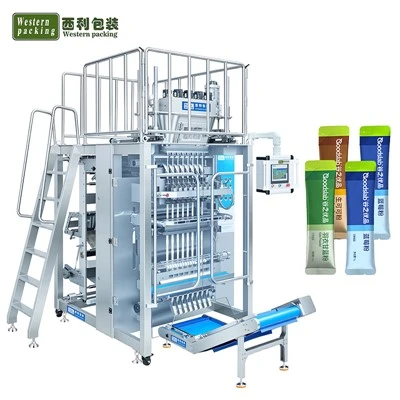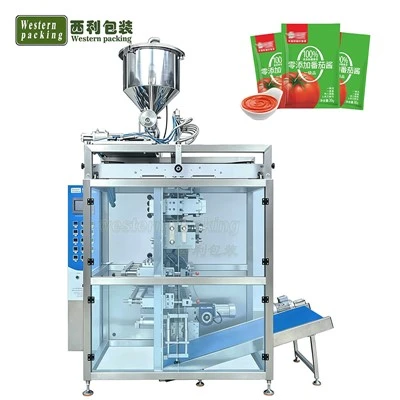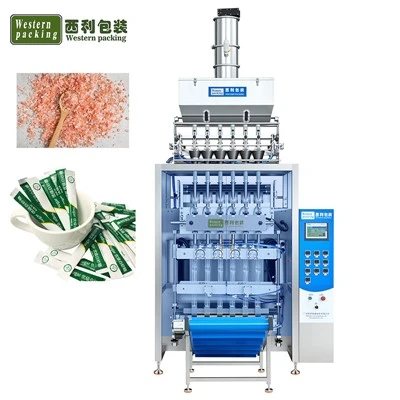


If you’ve ever bought a small sachet of coffee creamer, chili powder, or instant juice, you’ve held the end product of a powder sachet packaging machine. As someone who’s spent the last 8 years as a supplier of these machines, I’ve walked new customers through more installation processes than I can count—and I’ve seen firsthand how skipping even a small step can lead to weeks of headaches (think: lumpy seals, powder spilling all over the floor, or half-packed sachets). Today, I’m breaking down the installation process step by step, no fancy jargon required, so you can get your machine up and running fast, no matter if you’re setting it up for the first time in a small bakery, a mid-sized spice factory, or a beverage production line.
First, let’s start with the basics: what even is this machine, and why does installation matter so much? If you’re here, you probably already know, but just to refresh: a powder sachet packaging machine takes loose powder, measures it into precise portions, fills it into a small plastic or foil sachet, seals it shut, and cuts it loose—all in one smooth run. Get the install wrong, and you’re looking at wasted powder (which is expensive!), broken parts, and downtime that kills your production goals. We’ve got specialized models for every use case, too: if you’re packing long, thin stick packs for protein powder, check out our Powder Stick Pack Machine. For chili powder specifically, our Packing Machine for Chilli Powder is built to handle fine, sometimes clumpy powder without jamming. And if you’re doing beverage or juice powders, our Beverage Powder Packaging Machine and Juice Powder Packing Machine keep those powder flavors consistent during packaging. But regardless of which model you pick, this installation process applies.
Let’s dive into the first phase: pre-installation prep. This is the step most people rush, and it’s where mistakes happen. Before the machine even shows up, you need to make sure your space is ready. First, measure the floor space. Most automatic powder sachet packaging machines aren’t tiny—they’re about 6 feet long, 3 feet wide, and 5 feet tall, so you need at least a 7x4 foot area, plus 2 feet of space on all sides for maintenance. No cramming it into a corner! Then, check power and air: these machines run on 220V single-phase power (for small to mid-sized models) or 480V three-phase for high-volume ones, so make sure your circuit can handle it (we always recommend a dedicated circuit, no shared outlets). You’ll also need compressed air at 80-100 PSI—if your factory’s air compressor is older, test the pressure a week before delivery; low air pressure leads to bad seals. Also, clear a spot for the powder hopper (the part that holds your loose powder) nearby, and make sure the floor is level. I can’t stress leveling enough: if the machine is even slightly tilted, the powder will settle in one side of the hopper, leading to underfilled sachets. We always tell customers to use a spirit level on the machine’s base and adjust the feet until the bubble is dead center.
Next, when the machine arrives, unboxing is the next step. Don’t just yank it out of the crate and plug it in. Most machines come partially disassembled to save on shipping, so lay out all parts: the main machine frame, the hopper, the measuring unit, the film roll holder, the sealing heads, the control panel, and any small parts like Allen wrenches, extra seals, and a power cord. Check the shipping damage first: run your hands over every metal part, look for dented frames or bent sealing heads, and make sure nothing is loose. If you see damage, take photos immediately and notify us—we’ll send a replacement part within 2 business days, no hassle. Once you confirm everything is intact, move the machine into place (this is a two-person job, by the way—these things are heavy!). Secure it to the floor with bolts, just to make sure it doesn’t move during operation.
Now, the actual setup: connecting the key parts. First, attach the film roll holder. This is the long metal bar at the back of the machine that holds the plastic or foil sachet film. Slide your film roll onto the holder, making sure it’s tight but not so tight that it won’t spin when needed. Then, thread the film through the machine’s guide rollers—follow the diagram on the machine’s control panel, it’s usually pretty intuitive. If you skip threading the film right, you’ll get tangled film later, which is a nightmare. Next, connect the powder hopper. Lift it onto the mounting bracket on top of the machine, and tighten the bolts so it’s secure. Then, connect the air line: plug the compressed air hose into the inlet on the side of the machine, and make sure the connection is tight (a loose air line leads to weak seals). Finally, connect the power cord to the dedicated circuit we talked about earlier, and turn on the main power switch. Wait a second before moving on—check the control panel lights. If they’re all on and no error codes pop up, you’re good. If not, double-check the power connection. If it still shows an error, call us immediately. We’ve got 24/7 support for all our customers, no matter where you are.
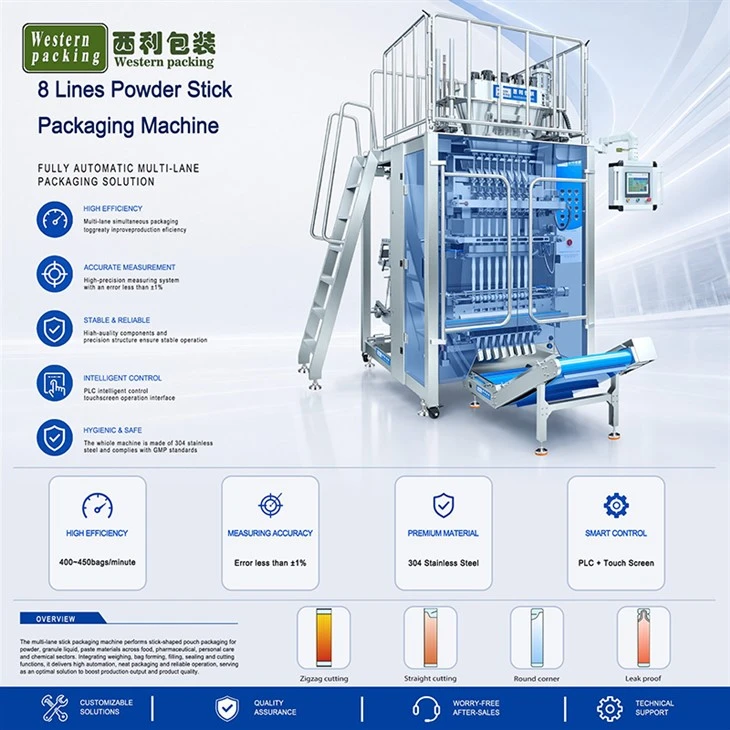
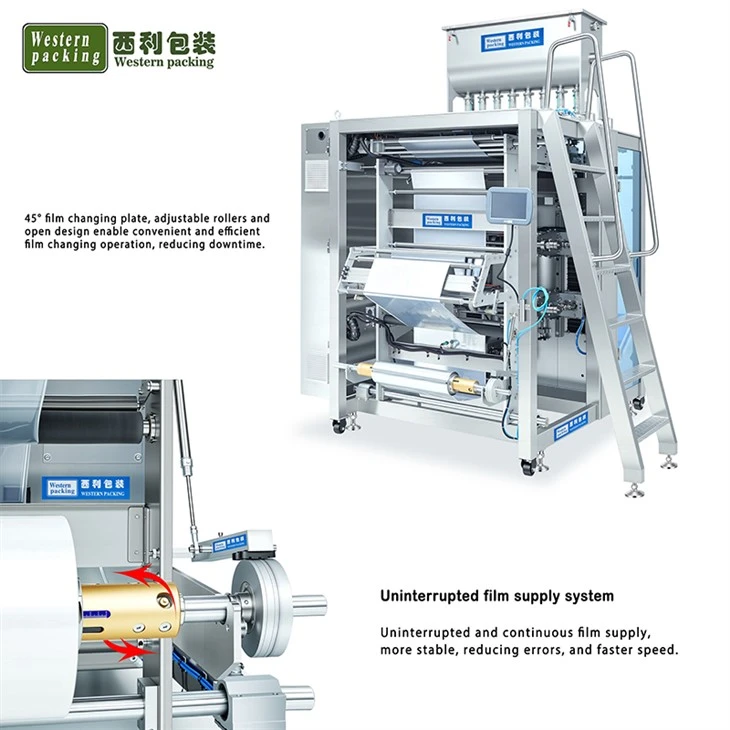
Once the machine is connected, you need to calibrate it. This is the most important step for getting perfect, consistent sachets. Let’s start with the film. Run a small section of film through the machine until it comes out the front. Check if it’s aligned straight—if it’s crookedly fed, the sachets will be misaligned, and the seals will be off. Adjust the guide rollers until the film is perfectly straight. Next, calibrate the powder measuring unit. This is the part that decides how much powder goes into each sachet—so if you’re packing 5 grams of coffee creamer, you need this set exactly right. First, put a small amount of your actual powder (not a test powder, different powders have different densities) into the hopper. Then, use the control panel to set the desired fill weight. Run the machine for 10 test sachets, and weigh each one. If most are under 5g, adjust the measuring unit’s dial to let a little more powder through; if they’re over, dial it down. Do this until all 10 test sachets are within 0.1g of your target weight. This takes a few tries, but it’s worth it—wasted powder adds up fast. Then, calibrate the seals. Bad seals mean powder will spill out during transport or storage, which ruins your product. The sealing heads heat up to melt the film together, so you need to make sure the temperature is right. For foil sachets, use 120-150°C; for plastic, 100-120°C. Run another test, and check the seal—if it’s crinkled, the temperature is too low; if the film is bubbling or melting through, it’s too high. Adjust until you have a smooth, tight seal. Also, check the cutting blades—make sure they’re sharp enough to cut through the film cleanly, no ragged edges.
Once calibration is done, do a test run. Don’t just dump a whole bag of powder in and hit “start”—run it for 20-30 sachets, and check every single one. Look for: consistent fill weights, smooth tight seals, straight cut edges, no powder spilling from the sides. If everything looks good, you’re almost ready. But before you start full production, make sure you set up a maintenance schedule. These machines last 10+ years if you take care of them. Every day, wipe down the hopper and sealing heads to remove any leftover powder. Every week, check the air line for leaks, tighten any loose bolts, and sharpen the cutting blades. Every month, lubricate the moving parts with food-grade lubricant (super important if you’re packing consumables like beverage or juice powders).
Wait, a quick note: if you’re not comfortable doing any of this yourself, you don’t have to. We offer on-site installation and training for all our machines, for a small fee that’s way worth it compared to downtime. We’ve installed hundreds of our Automatic Powder Sachet Packing Machine for small businesses all the way up to large food manufacturers, and our team will walk you through every step until you’re confident running the machine on your own.
A few common mistakes I see new customers make that you should avoid: first, using old, worn-out film rolls. Thin or cheap film leads to bad seals and tears. Second, not cleaning the machine between runs of different powders. If you switch from chili powder to coffee powder, leftover chili powder will contaminate your coffee, so always wipe down the hopper and measuring unit. Third, ignoring error codes. If the control panel shows a “low air pressure” error, don’t just hit “reset”—figure out why the pressure is low, because it will lead to bad seals.
At the end of the day, installing a powder sachet packaging machine isn’t rocket science, but it does require attention to detail. If you follow these steps, you’ll have a machine that runs smoothly, cuts down on your packaging time, and reduces waste. Whether you’re a small business owner just starting out or a production manager at a large factory, the right machine and a proper install make all the difference. If you’re in the market for a new machine, or you have questions about installing the one you already have, feel free to reach out to us—we’re here to help you every step of the way.
References:
- Powder Packaging Machine Installation Guidelines, Packaging Machinery Association, 2022
- Calibration Standards for Vertical Form-Fill-Seal Powder Packaging Equipment, Journal of Food Packaging Technology, 2021
- Compressed Air Requirements for Industrial Packaging Machinery, Compressed Air and Gas Institute, 2020
- Maintenance Best Practices for Powder Sachet Packaging Equipment, Industrial Maintenance Magazine, 2023